For any serious DIY enthusiast, professional tradesperson, or dedicated hobbyist, workshop power tools are the bedrock of efficiency, precision, and the ability to tackle projects that hand tools simply can’t manage. These machines transform raw materials into finished products with speed and accuracy, elevating your craftsmanship to new heights. However, merely owning power tools isn’t enough; maximizing their potential requires understanding their capabilities, employing best practices for safe and effective use, and maintaining them diligently. This comprehensive article delves deep into the world of essential workshop power tools, offering invaluable tips, safety guidelines, and maintenance insights to help you get the most out of your machinery, ensure longevity, and produce professional-grade results every time. Unlock the full power of your workshop and revolutionize your projects!
Essential Benchtop Power Tools
Benchtop power tools are the workhorses of any dedicated workshop, offering stability, precision, and the ability to make repeatable cuts and operations.
A. Table Saw
The table saw is arguably the most versatile and indispensable tool in a woodworking shop, designed for ripping (cutting along the grain), crosscutting (cutting across the grain), and making accurate dados and grooves.
- Blade Selection: The type of blade is crucial for cut quality.
- Rip Blades: Fewer teeth, larger gullets, designed for efficient cutting with the grain.
- Crosscut Blades: More teeth, smaller gullets, designed for clean cuts across the grain.
- Combination Blades: A balance of rip and crosscut teeth, suitable for general-purpose use.
- Dado Sets: Specialty blades for cutting wide grooves (dados or rabbets) for joinery.Always use a sharp, appropriate blade for the material and cut.
- Fence and Miter Gauge Accuracy: The accuracy of your table saw’s fence (for ripping) and miter gauge (for crosscutting) is paramount. Regularly check for squareness and parallelism to the blade. A high-quality aftermarket fence can dramatically improve precision.
- Blade Height and Angle: Set the blade height just above the workpiece (typically no more than 1/8 inch above the highest tooth). For angled cuts, precisely adjust the blade tilt.
- Push Sticks and Push Blocks: Always use push sticks or push blocks when feeding small workpieces or when your hands are close to the blade. Never use your bare hands closer than 6 inches to the blade.
- Outfeed Support: For long pieces, outfeed support (rollers, dedicated table, or even a second pair of hands) is essential to prevent the workpiece from tipping and causing kickback.
- Dust Collection: Table saws generate significant sawdust. Connect it to a robust dust collection system to maintain air quality and keep your shop clean.
B. Miter Saw (Chop Saw)
A miter saw excels at making precise crosscuts, miter cuts (angles on the face), and bevel cuts (angles on the edge) for trim, framing, and general construction.
- Blade Type: Use appropriate blades for the material (e.g., fine-tooth blades for trim, coarser blades for framing lumber).
- Compound vs. Sliding:
- Compound Miter Saw: Cuts miters and bevels, but fixed blade position limits crosscut width.
- Sliding Compound Miter Saw: The blade head slides, allowing for much wider crosscuts, making it more versatile for larger boards.
- Support and Clamping: Always support long workpieces with extension wings or auxiliary stands. Use the saw’s clamp or an external clamp to secure the workpiece firmly against the fence, especially for miter or bevel cuts.
- Check Angles Regularly: Even on new saws, frequently check that the 0-degree and 45-degree stops are accurate using a reliable digital angle finder or combination square.
- Dust Collection: Miter saws throw sawdust everywhere. Connect to a dust collection system and consider building a dust hood around the saw.
C. Drill Press
A drill press provides far greater accuracy, repeatability, and leverage than a handheld drill, making it ideal for precision drilling.
- Clamping the Workpiece: Always clamp the workpiece securely to the drill press table. Never hold it by hand, especially for larger bits, as the bit can grab the material and spin it violently.
- Appropriate Speed: Adjust the drill press speed (RPM) based on the material and bit size. Slower speeds for larger bits and harder materials, faster speeds for smaller bits and softer materials.
- Depth Stop: Use the depth stop to ensure consistent drilling depth for repeatable holes or to prevent drilling too deep.
- Drill Bit Selection: Use the correct drill bit type (brad point for wood, HSS for metal, masonry for concrete) and ensure bits are sharp.
- Cutting Fluid: When drilling metal, use a cutting fluid to lubricate the bit, dissipate heat, and extend bit life.
D. Band Saw
The band saw is excellent for cutting curves, irregular shapes, and for resawing (cutting thin planks from thicker stock).
- Blade Selection: Use the correct blade width and tooth count (TPI) for your task. Narrow blades (1/8″ – 1/4″) for tight curves, wider blades (1/2″ – 3/4″) for straight cuts and resawing. Lower TPI for rough cuts, higher TPI for smoother cuts.
- Blade Tension: Correct blade tension is critical for straight cuts and preventing blade breakage. Adjust according to the manufacturer’s recommendations.
- Blade Guides: Ensure the blade guides are properly adjusted, close to the workpiece, but not touching the blade when idle, to support the blade during the cut.
- Resawing Tips: For resawing, use a wide, sharp blade, a tall fence (or an auxiliary fence), and a featherboard to keep the workpiece tight against the fence.
Handheld Power Tools
Handheld power tools offer mobility and are indispensable for tasks that can’t be brought to a benchtop machine, or for quick, convenient operations.
A. Circular Saw
The circular saw is a portable workhorse for making straight cuts in sheet goods and dimensional lumber.
- Blade Selection: Use blades appropriate for the material (wood, plywood, laminates) and desired cut quality. A thin-kerf blade reduces material waste and motor strain.
- Guide and Support: For straight cuts, use a straight edge guide (e.g., a clamped board, a purpose-built track saw guide) or mark a clear line. Support the workpiece adequately to prevent pinching the blade.
- Depth and Bevel Adjustment: Always set the blade depth just below the workpiece to minimize blade exposure. Adjust the bevel angle for angled cuts.
- Safety: Keep both hands on the saw, wear safety glasses, and ensure the guard operates freely. Avoid cutting freehand if possible.
B. Jigsaw
The jigsaw excels at cutting curves, intricate shapes, and making plunge cuts into the middle of a panel.
- Blade Types: Jigsaw blades come in various tooth configurations and materials for cutting wood, metal, plastic, and even ceramics. Use a fine-tooth blade for smooth cuts, coarser blades for faster, rougher cuts.
- Speed Control: Adjust the speed control (variable speed trigger or dial) based on the material. Slower speeds for metal and harder materials to prevent overheating the blade.
- Orbital Action: Many jigsaws have orbital action settings, which move the blade forward in an elliptical motion. Use higher orbital settings for faster, rougher cuts in wood, and turn it off for fine cuts or metal.
- Support and Clamping: Always support the workpiece and clamp it securely. For plunge cuts, ensure the blade is resting flat on the workpiece before starting the cut.
C. Random Orbital Sander
A random orbital sander is a versatile tool for achieving smooth finishes, removing material, or preparing surfaces for paint or stain.
- Grit Progression: Always work through a progression of sandpaper grits (e.g., 80-grit to remove material, then 120, 180, 220 for progressively smoother finishes). Jumping grits will leave deeper scratches.
- Let the Sander Do the Work: Don’t press down hard; let the weight of the sander and the abrasive do the work. Excessive pressure creates swirl marks and wears out sandpaper faster.
- Keep it Moving: Constantly keep the sander moving in overlapping passes to avoid creating depressions or hot spots.
- Dust Collection: Connect the sander to a shop vacuum or use one with an integrated dust bag to minimize airborne dust.
D. Router
A router is incredibly versatile for shaping edges, cutting dados and rabbets, creating joinery, and even carving.
- Bit Selection: There’s a vast array of router bits for different tasks (e.g., round-over, chamfer, straight, dado, dovetail, template bits). Choose carbide-tipped bits for durability.
- Direction of Cut: Always feed the router into the workpiece in the correct direction (typically against the rotation of the bit) to prevent the router from “climbing” out of control.
- Multiple Passes: For deep cuts, make multiple shallow passes instead of one deep cut. This is safer, reduces strain on the router, and produces a cleaner cut.
- Router Table: For small pieces or specific joinery, a router table (where the router is mounted upside down) provides greater control and safety.
Power Tool Accessories
Beyond the tools themselves, a range of accessories can significantly enhance their performance, precision, and safety.
A. Blades and Bits
High-Quality Blades/Bits: Invest in high-quality blades and bits made from durable materials (e.g., carbide-tipped) with appropriate tooth counts and geometries for the materials you’re cutting. Sharp tools cut more efficiently, more accurately, and are safer.
- Keep Them Sharp: Dull blades and bits lead to rough cuts, increased motor strain, and dangerous kickback. Learn to sharpen them yourself or have them professionally sharpened regularly.
B. Jigs and Fixtures
- Crosscut Sled: For a table saw, a crosscut sled provides unparalleled accuracy and safety for making square or angled crosscuts.
- Featherboards: Used with table saws, router tables, or band saws, featherboards apply constant pressure to keep workpieces tight against the fence or table, preventing kickback and ensuring consistent cuts.
- Push Blocks/Sticks: As mentioned, these are essential safety accessories for keeping your hands away from blades.
- Shop-Made Jigs: Many specific tasks can be made safer and more accurate by building simple, shop-made jigs (e.g., tapering jigs, circular cutting jigs for routers).
C. Clamps
- Assorted Clamps: You can never have too many clamps. Bar clamps, F-clamps, C-clamps, and spring clamps are essential for securing workpieces during cutting, drilling, gluing, and assembly. Proper clamping prevents movement, ensuring accuracy and safety.
Safety Practices
Safety is paramount when working with power tools. A moment of carelessness can lead to serious injury. Always prioritize safety over speed or convenience.
A. Personal Protective Equipment (PPE)
- Eye Protection: Always wear ANSI-approved safety glasses or goggles when operating any power tool that generates dust, chips, or projectiles.
- Hearing Protection: Use earplugs or earmuffs when operating loud machinery (saws, routers, planers) to prevent long-term hearing damage.
- Respiratory Protection: Wear a dust mask or respirator when generating significant dust (sanding, sawing MDF, certain woods) to protect your lungs from airborne particles.
- Gloves (Situational): Wear work gloves for handling rough materials or when splintering is a risk. However, never wear gloves when operating machinery with rotating parts (e.g., table saw, drill press) as they can get caught and pull your hand into the blade.
- Appropriate Clothing: Avoid loose clothing, dangling jewelry, or long hair that could get snagged by moving parts. Tie back long hair.
- Sturdy Footwear: Wear closed-toe shoes with good grip, preferably steel-toed, to protect your feet from falling tools or materials.
B. General Safety Guidelines
- Read the Manual: Before operating any new power tool, read the owner’s manual thoroughly to understand its features, limitations, and safety warnings.
- Unplug Before Adjusting: Always unplug a tool from power before making any adjustments, changing blades/bits, or performing maintenance.
- Clear Workspace: Maintain a clean and uncluttered workspace. Remove debris, offcuts, and unnecessary tools that could cause tripping hazards or interfere with operation.
- Proper Support: Always ensure the workpiece is properly supported and clamped before cutting or drilling.
- Stay Focused: Avoid distractions. Never operate power tools when fatigued, under the influence of alcohol or drugs, or when your attention is divided.
- Use Guards: Always keep all safety guards in place and properly adjusted. Never bypass them.
- Know Your Tools: Understand how each tool works, its specific safety features, and its potential hazards.
- First-Aid Kit: Have a well-stocked first-aid kit readily accessible in your workshop.
Maintenance and Longevity
Proper maintenance extends the life of your power tools, ensures consistent performance, and contributes to safer operation.
A. Cleaning and Dust Management
- Regular Cleaning: After each use, clean your tools thoroughly. Remove sawdust, metal shavings, and debris from motors, vents, and moving parts. Use compressed air, brushes, or shop vacuums.
- Dust Collection Systems: Invest in a good dust collection system (shop vacuum for small tools, dedicated dust collector for larger machines). This not only keeps your shop cleaner but also protects your tools’ motors from dust ingress and improves air quality for your health.
- Waxing Surfaces: For cast iron tables (table saw, band saw, drill press), apply a thin coat of paste wax periodically. This reduces friction, prevents rust, and makes material glide smoothly.
B. Blade and Bit Care
- Keep Them Sharp: As mentioned, sharp blades and bits are crucial. Dull tools strain motors, create poor cuts, and are more dangerous.
- Clean Residue: Periodically clean pitch and resin buildup from saw blades and router bits using a specialized blade cleaner. This improves cutting performance and extends tool life.
- Proper Storage: Store blades and bits in their original cases or dedicated storage solutions to protect their cutting edges from damage and prevent accidental cuts.
C. Lubrication and Inspection
- Lubrication: Periodically lubricate moving parts (e.g., miter saw slides, drill press quills, table saw height/bevel mechanisms) according to the manufacturer’s recommendations. Use appropriate lubricants (dry lube, grease, machine oil).
- Cord Inspection: Regularly inspect power cords for fraying, cuts, or damaged insulation. Replace damaged cords immediately.
- Brush Replacement: For many universal motors (found in handheld tools), carbon brushes wear out over time. Learn how to inspect and replace carbon brushes when they get low to prevent motor damage.
- Fastener Checks: Periodically check that all fasteners (screws, bolts) on your tools are tight. Vibration can loosen them over time.
D. Calibration and Adjustment
- Squareness Checks: Regularly check the squareness of your table saw fence and blade to the table, miter saw angles, and drill press table to the chuck. Minor adjustments can prevent frustrating inaccuracies.
- Blade Alignment: On table saws and band saws, ensure the blade is properly aligned (parallel) with the fence or table to prevent binding and kickback.
Workshop Layout and Environment
An optimized workshop layout and a conducive environment contribute significantly to productivity and safety.
A. Lighting
- Ample General Lighting: Ensure your workshop has bright, even general lighting to eliminate shadows. Overhead LED shop lights are an excellent choice.
- Task Lighting: Supplement general lighting with task lighting positioned directly over specific machines (e.g., a clamp lamp on the drill press) to illuminate the immediate work area and reduce eye strain.
B. Power Distribution
- Sufficient Outlets: Plan for sufficient electrical outlets strategically placed throughout your workshop, minimizing the need for long extension cords (which can be tripping hazards and cause voltage drop).
- Dedicated Circuits: For high-amperage tools (e.g., large table saws, planers), consider running dedicated circuits to prevent tripping breakers.
C. Workbench
- Sturdy and Level: Invest in a sturdy, level workbench that can withstand heavy use. It’s your primary assembly and hand-tool work surface.
- Storage: Integrate drawers or shelves into your workbench for convenient storage of frequently used hand tools and accessories.
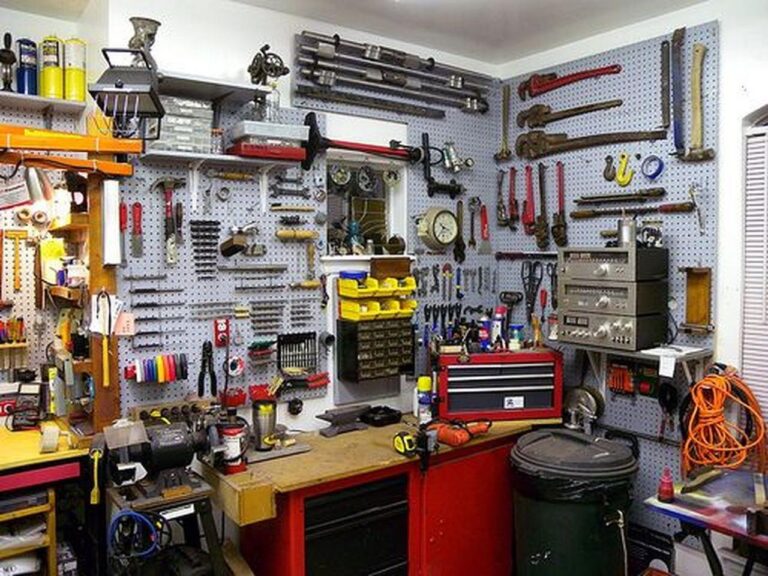
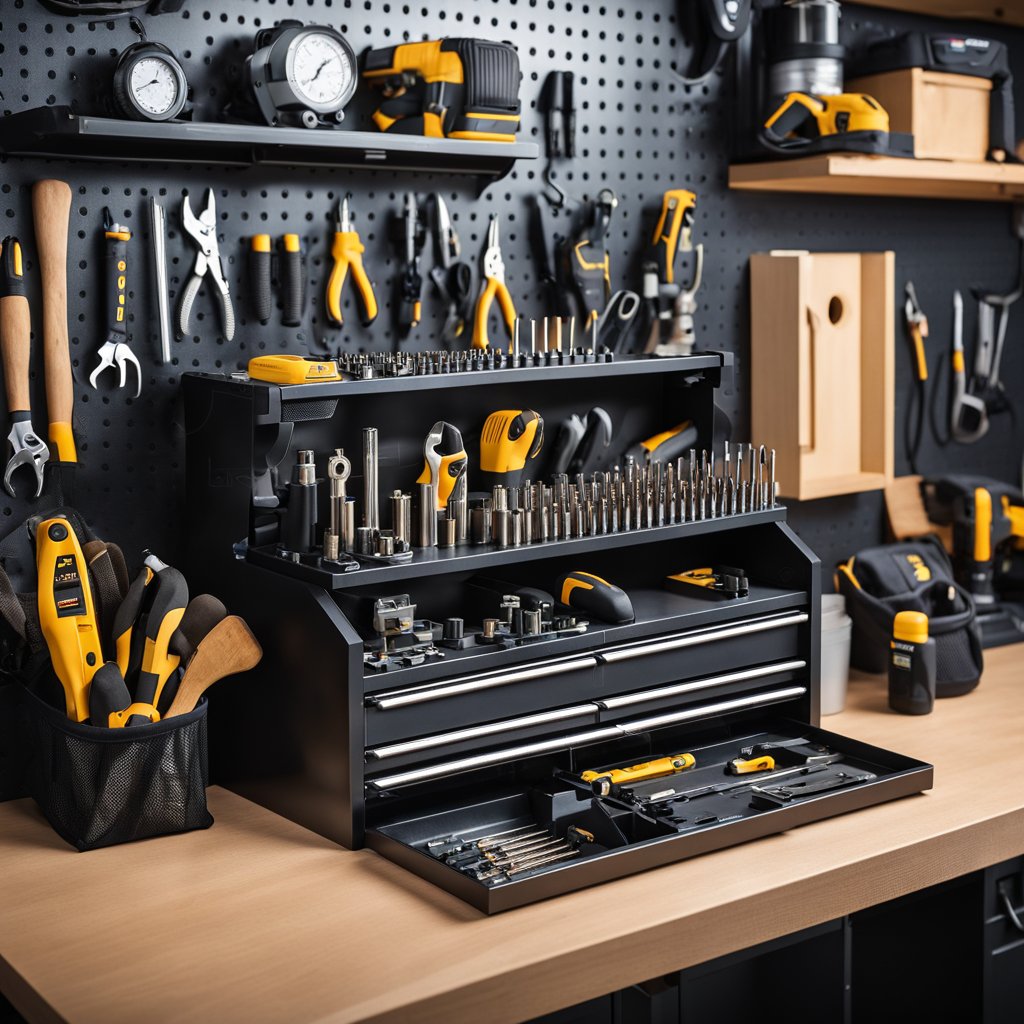
D. Organization and Storage
- Tool Storage: Utilize tool cabinets, pegboards, and wall-mounted organizers to keep tools organized, accessible, and protected.
- Material Storage: Design specific areas for lumber, sheet goods, and project offcuts to keep them off the floor and easily accessible.
- Dust Bins and Waste Management: Strategically place dust bins and waste receptacles to encourage cleanliness and easy disposal of sawdust and scraps.
Conclusion
The journey of mastering workshop power tools is a continuous process of learning, practicing, and refining. These remarkable machines, when used correctly and maintained diligently, empower you to transform raw materials into creations limited only by your imagination. By prioritizing safety, understanding the nuances of each tool, investing in quality accessories, and fostering a disciplined approach to maintenance, you’ll not only extend the life of your equipment but also elevate the quality and efficiency of your work.
A well-equipped and intelligently operated workshop is more than just a collection of machines; it’s a dynamic space where creativity flourishes and precision is paramount. So, embrace these tips, respect the power of your tools, and unlock your full potential as a craftsman. The satisfaction of a perfectly executed cut and a safely completed project awaits.